Showing posts with label delicious dessert. Show all posts

Tuesday, July 21, 2015

Celebration Brownies

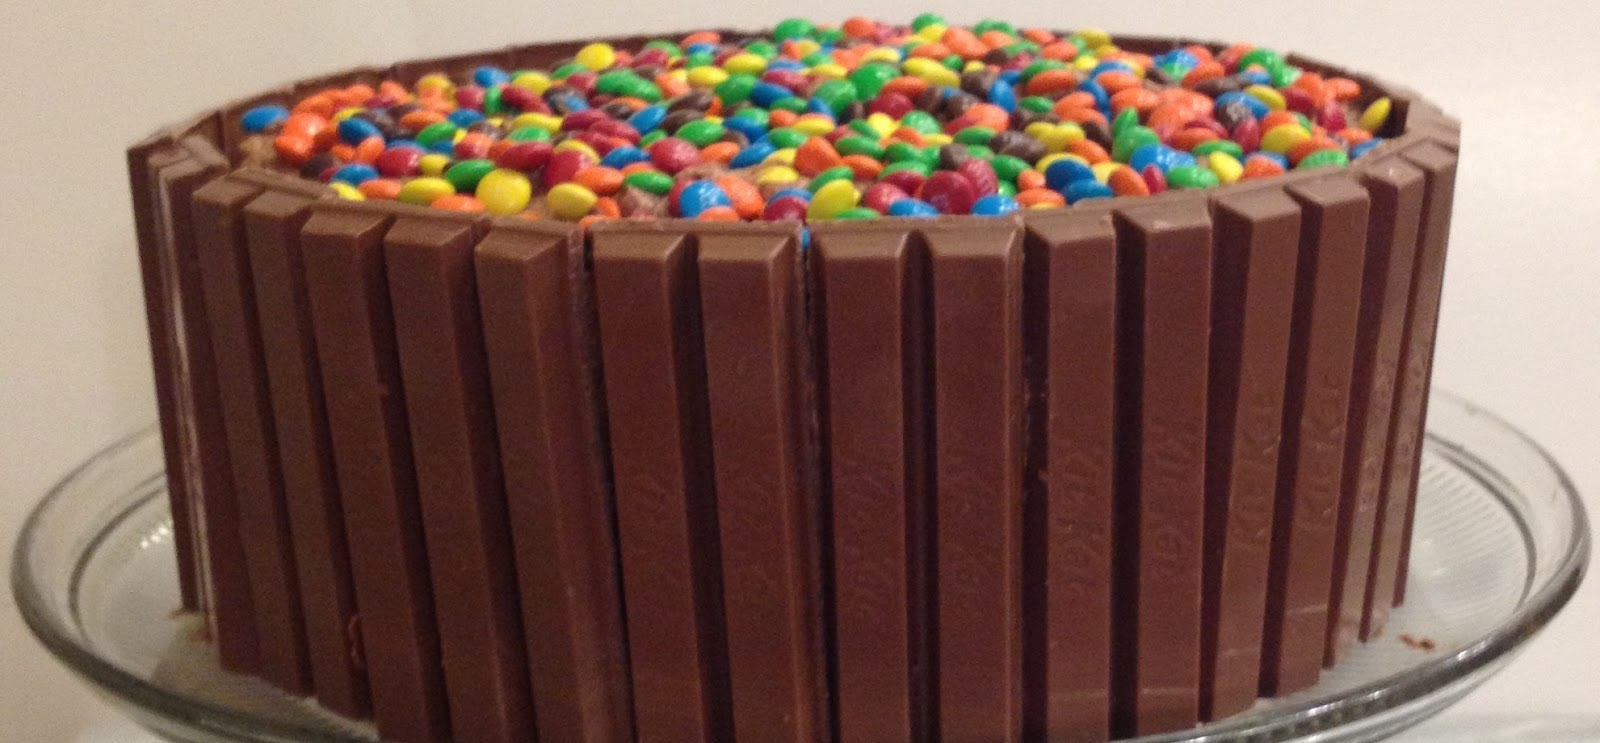
Celebrate Good Times with this Decadent Dessert

This blog has been a semester-long assignment for a social media marketing class I took at the local university. Returning to school after 20 years was quite an experience. Most of the technologies we discussed and used in the class didn’t even exist when I earned my bachelor’s degree. I am a bit of a luddite and learning to use all forms of social media including (gulp) YouTube was very intimidating. Finding out I was the oldest person in the room - including the instructor - didn’t help.

Now the semester is over, I feel extremely accomplished. I have created YouTube videos, learned to tweet on Twitter, designed an infographic, established a business Facebook page, maintained an independent Instagram account and pinned many a recipe on Pinterest. I even have a Google Plus account. That’s an impressive list of accomplishments for an old lady, if I do say so myself. Now that the semester is over, it’s time to celebrate!

This is my favorite recipe because I usually have the ingredients in my pantry (with the notable exception of the marshmallow crisis of ‘15) and it’s loaded with ooey gooey chocolatey goodness. What’s not to love? That is why I made these brownies to share with my class the final time we met.

Step One: Cream the softened butter and sugar. Add eggs. Beat until fluffy

Step Two: Add the baking powder, salt, vanilla and cocoa powder.

Step Three: Add the flour. Mix well.

Brownie batter waiting for the ingredients to make it outstanding
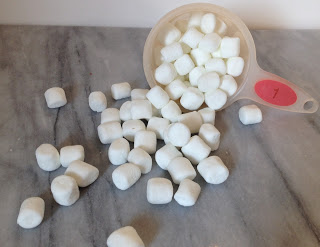
Step Four: Stir in the chocolate chips and one cup of the marshmallows. This step is optional. But if you want swoon-worthy brownies, don’t skip it.


Step Five: Spread in the pan. I get the best results from a pampered chef stoneware bar pan.


Step Six: Bake in 350 degree oven for 20 -25 minutes. Do not over bake!

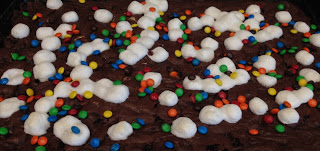
Step Seven: Remove mostly baked brownies from the oven and sprinkle a generous amount of marshmallows on top. Return to oven and bake an additional 2 - 5 min. Watching the pan carefully. Note: Marshmallows can burst into flame in the oven. 
(I will neither confirm nor deny my personal experience with this phenomena.)

Step Eight: Top with candy. I like mini M&Ms because they are like edible confetti. You can add anything you’d like: nuts, chocolate chips, graham cracker pieces, chopped Reese's peanut butter cups, Butterfingers, Heath Bar, Snickers, Whoppers etc.  Be creative.


Step Nine: Enjoy
Note: Cutting these can be tricky. I have the best results when I run a sharp knife under hot water each time I make a cut in the brownies.


Celebration Brownies

1 c. butter, softened
2 c. sugar
4 eggs
1 tsp. baking powder
½ tsp. salt
2 tsp. vanilla
1 c. cocoa
1 ½ c. flour
½ c. chocolate chips
2 c. marshmallows (divided)
1 c. mini M&Ms (or other candies)

Cream Butter and sugar. Add eggs. Beat until fluffy. Add baking powder, salt, vanilla and cocoa. Mix well. Add flour and mix well.

Tuesday, June 30, 2015

Chocolate Ganche

Two Ingredients Create a Heavenly Companion to Any Cake


Last week, I posted my go-to chocolate cake recipe. What’s cake without frosting? Chocolate cake can be frosted and decorated in many different ways, my favorite is with a simple chocolate ganache.
As my loyal follower (hi Mom!) may have noticed, I am not a fan of complicated recipes that require a lot of ingredients and time. As the mother of six, I don’t have time to drive all over chasing down obscure ingredients. I love delicious food that can be made with few ingredients using a minimum number of dishes. The fewer, the better. However, I don’t believe in sacrificing taste for convenience. That is why I love this ganache recipe. It is made with just two ingredients and so versatile. It can be used as a fancy glaze or a fluffy frosting.
Ganache is made with equal parts chocolate and cream.
For an 8” double-layer cake, I prepare 4 cups of ganache.

Step One: Start with 16 oz. (2 cups) of chocolate. Any chocolate will work, but I get the best results with a high-quality dark chocolate bar. (My favorite is Trader Joe’s Belgian dark chocolate.) Coarsely chop it and place it in a large bowl. Chocolate chips can also be used. No chopping needed.
Chopping a chocolate bar can be tedious. If you are pressed for time, use chocolate chips.

Step Two: Measure two cups of heavy whipping cream. (I prefer to get my cream from a local dairy.) Heat it in a saucepan until it has nearly reached the boiling point (tiny bubbles will begin to form around the edge of the pan). If you’d prefer not to dirty more dishes, you can use the microwave. Heat the cream for 2 minutes.
I love this hormone and preservative-free whipping cream


Step Three: Once the cream is hot, pour it over the chocolate pieces.
I am amazed that three minutes can turn this mess into a gorgeous ganache

Step Four: Wait three minutes.

Step Five: Whisk the mixture until it is completely blended. If you want a beautiful chocolate glaze, wait a few minutes for the ganache to cool slightly, then carefully pour over the cake, smoothing and spreading as you go.
This makes a beautiful glaze

Step Six: For a fluffy frosting, more waiting is necessary. Refrigerate until the mixture is cool to the touch (approximately one hour). Using a hand mixer, beat the ganache on high speed until stiff peaks form.
The whipped ganache

Step Seven: Decorate the cake any way you desire.
As you can see, waiting for the ganache to reach the right temperature is very important.

Let's face it, this looks awful! Because I wasn’t as patient as I should have been when waiting for my ganache to cool to a whip-able temperature, the ganache became a separated mess. Fortunately, it still tasted good. I made this particular cake for teacher appreciation week at school. The cake looked like such a disaster, I knew I couldn't bring it to the luncheon in it's current state. Luckily, I had another trick up my sleeve. This kit kat cake turned my mistake into a jaw-dropping centerpiece. Thank goodness for Pinterest.

All it took was 11 full-sized kit kat bars . . .
I always buy extra candy because some bars invariably break before they make it to the cake

2 cups of mini M&M candies . . .
Trust me on the mini M&Ms large ones look great, but they aren't as fun to eat

Some colored card stock, a few inches of bakers twine and two skewers
Ta Da! Impressive cake. Crisis averted.